Why Descaling Makes Your Coffee Taste Like It Should
I love a great cup of coffee and I hate scale that ruins flavor. In this guide I walk you through my fast, foolproof method to descale any drip or single-serve coffee maker so your coffee tastes fresh every time.
What I Use
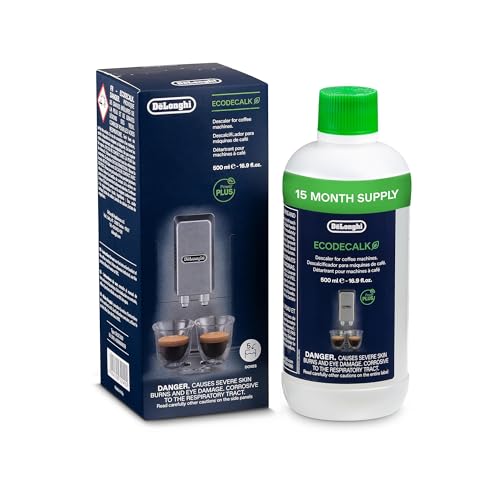
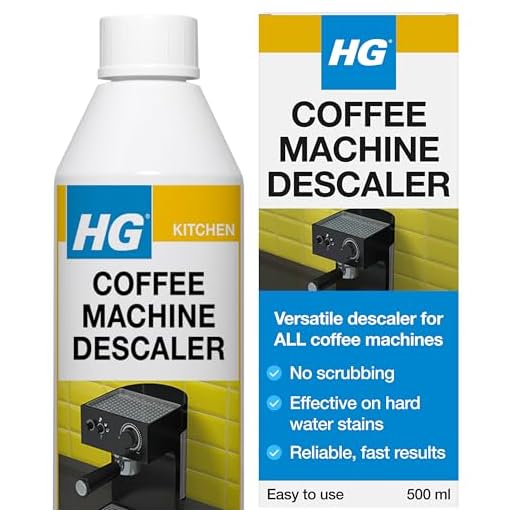
- I use white vinegar or a descaling solution
- fresh water
- measuring cup
- soft cloth
- sink access
- I recommend checking the manual for model specifics

Step 1 — Prep Your Machine
Turn off and unplug the coffee maker — I always start here to prevent shocks or accidental starts. Remove any used coffee grounds and filters, and empty the carafe; discard leftover water.
Follow this quick checklist before you descale:
- For single-serve: remove the pod and any removable brew components (drip tray, capsule holder).
- For drip machines: take out the filter basket and inspect for visible scale or coffee oil buildup.
- Consult your manual to see which parts are dishwasher safe.
Empty and wipe the water reservoir, inspect seals and valves for buildup, and position the machine where spills are easy to clean. Put on gloves and eye protection if you’ll use concentrated descaler or straight vinegar.
Step 2 — Mix the Right Descaling Solution
Measure and mix a safe solution. I prefer a 1:1 mix of white vinegar and water for general descaling — typically 1 cup vinegar + 1 cup water for a standard carafe. Reduce proportionally for small reservoirs (e.g., ½ cup + ½ cup).
Dissolve powdered descaler exactly per package directions if you use a commercial product. Never pour undiluted concentrated chemicals into the machine.
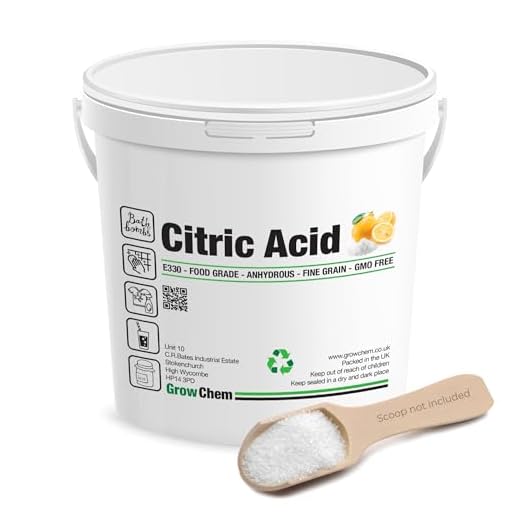
Work in a well-ventilated area, label any leftover solution, and store it safely out of reach. I sometimes swap vinegar for citric acid powder (1–2 tablespoons dissolved in 1 cup water) when I want a milder smell — it descaled my old drip maker with less odor.
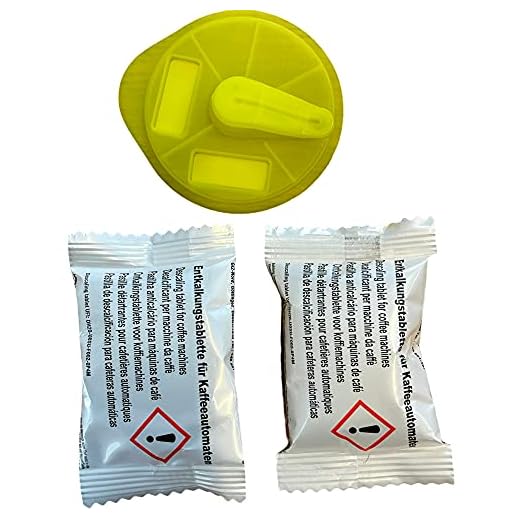
Check your machine’s warranty and manual first; use manufacturer-recommended descalers when required.
Step 3 — Run the Descale Cycle
Fill the reservoir with your prepared solution — I use the vinegar mix from Step 2. Start a brew cycle with no coffee grounds or pod; I treat this like a regular brew but with descaler.
Let drip machines run halfway, then pause the cycle and soak for 15–30 minutes so the solution loosens scale on hot plates and tubing — this trick cleared stubborn buildup on my old carafe brewer.
Run one or two brew cycles for single‑serve machines per the manual. Repeat the full process if heavy scale persists. Place a large container under the spout because the solution is acidic, and do not leave the machine unattended; I always watch for leaks.
Use any dedicated descaling mode if your machine has one. Finish by running multiple clear water cycles until no vinegar taste remains.
- Drip: pause halfway; soak 15–30 min
- Single‑serve: 1–2 cycles
- Safety: big container, watch for leaks
Step 4 — Flush and Rinse Thoroughly
Drain the carafe, refill the reservoir with fresh water, and run full brew cycles until the water runs clear and odor‑free. I repeat until no vinegar smell remains.
- Flush cycles: For larger machines run 2–3 full cycles; for compact single‑serve models 1–2 cycles.
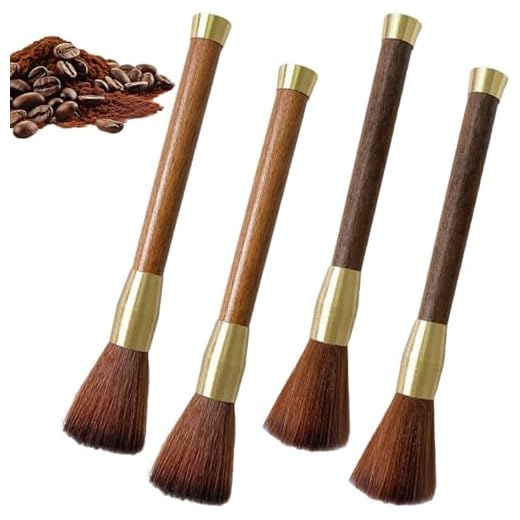
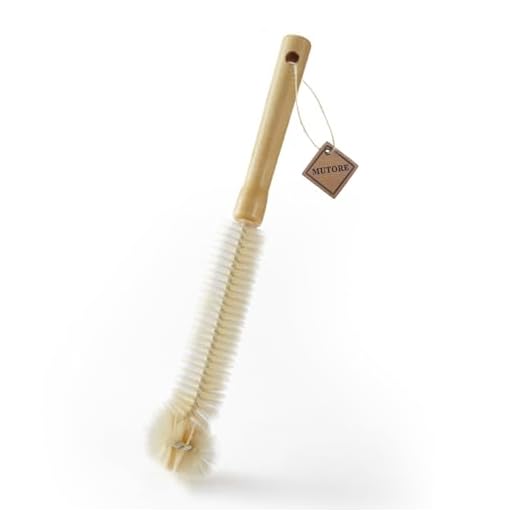
- Wash parts: Remove and wash the carafe, filter basket, and detachable parts with warm soapy water and a soft brush.
Wipe the exterior and heating plate, clearing any drips or mineral flakes. Dry all parts completely before reassembling to prevent mold and ensure the machine is ready to brew. Check seals and gaskets for wear, run a short test brew to confirm normal flow, taste carefully, and log the descaling date on your maintenance record.
Step 5 — Deep Clean Removable Parts
Soak removable components like the filter basket, shower screen, and portafilter (if applicable) in warm water mixed with descaling solution or citric acid for 20–30 minutes — I set a timer so I don’t forget.
Scrub gently with an old toothbrush or soft brush to dislodge deposits without scratching; I once freed a stubborn ring from my shower screen this way. Use a toothpick or soft pipe cleaner to clear tiny holes in internal shower screens.
Avoid metal scouring pads that can damage finishes. Repeat soaking once more for severe buildup or consult the manufacturer if parts look compromised.
Rinse everything thoroughly and dry before reassembly. Wipe the reservoir interior with a soft cloth, replace old in-line filters when needed, and schedule descaling every three months in hard-water areas.
Step 6 — Final Checks and Maintenance Habits
Refill the reservoir with fresh water, reassemble all parts, and run one short brew to verify normal operation and flavor.
Taste the coffee cautiously; if I detect any off flavors I flush again — I once ran two rinse cycles after a faint metallic note and the problem disappeared. Keep a small maintenance log where I jot the descaling date and brief observations (taste, flow, any leaks) so I can predict the next descale.
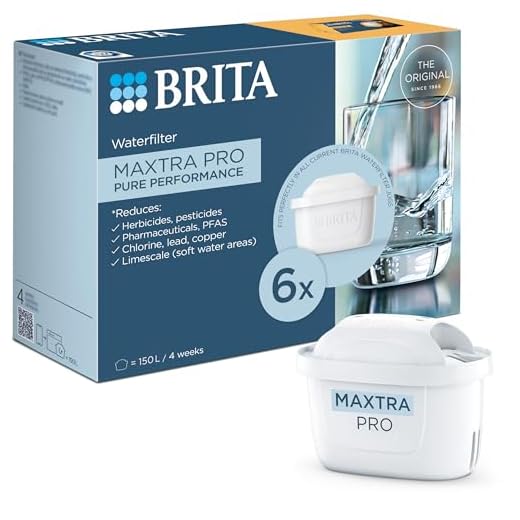
- Use filtered water or a water-softener cartridge in hard-water areas to cut mineral buildup.
- Do a quick rinse monthly (run plain water through).
- Avoid leaving water standing in the reservoir overnight.
- Replace worn gaskets yearly.
- Set calendar reminders so you don’t fall behind on maintenance.