
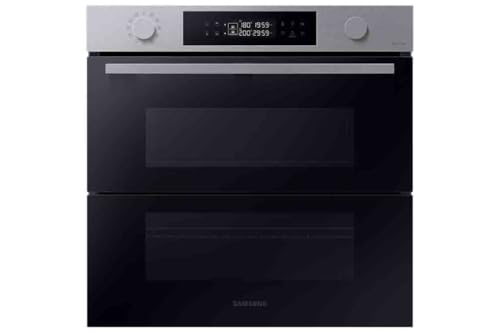
Why I Taught My Oven to Cook Like Me
I love cooking, but even I get tired of babysitting timers and guessing temperatures. I wanted an oven that understands my taste and routines and delivers a great meal every time.
My goal was simple: create an AI-assisted oven that learns how I cook so I can get consistently delicious results without micromanaging. I cook lots of roasted vegetables, sheet-pan dinners, and simple breads, so personalization mattered.
The practical wins I expected were clear: less wasted food, faster weeknight meals, and the quiet joy of an oven that truly gets me.


Setting the Goal: Defining What ‘Cooking Like Me’ Actually Means
Turning taste into measurements
“Cook like me” is poetic but useless for engineering. I started by listing the sensory outcomes I care about and translating each into a measurable target. That meant turning words like “crispy” into surface temperature and time, “doneness” into internal temperature bands, and “balanced spice” into recipe ingredient ratios.
My taste priorities
- Crispness on roasted edges (target: 200–220°C surface, 10–15 min blast for veggies)
- Doneness levels (rare/med/well mapped to precise internal °F/°C)
- Texture preferences (moist crumb vs drier crust for breads)
- Spice balance and salt tolerance (ingredient percentage guidelines)
Choosing success metrics
- Internal temperature targets (primary objective for proteins)
- Visual cues captured by camera (browning index)
- Time-to-completion and energy used (efficiency)
- User satisfaction scores (quick thumbs-up/redo feedback)
Constraints I imposed
- Safety: auto-shutoff above set thresholds and fire detection
- Speed: weeknight modes that favor time over perfect sear
- Energy: prefer convection cycles that save kWh when possible
Prioritization: everyday vs special dishes
For daily meals I prioritized reliability and speed — consistent roast, reliable internal temp. For special dishes (sourdough, holiday roast) I allowed longer training cycles and manual overrides. Getting those priorities right up front saved countless retraining loops and kept development practical as I moved on to training the model.
Gathering the Right Data: My Recipes, Sensors, and Feedback
What I recorded
I built a simple schema and stuck to it: annotated recipes, step-by-step photos, short voice/text taste notes, and synchronized sensor logs (air temperature, chamber humidity, weight, probe temps, and timing). For cameras I used a Raspberry Pi Camera v2 for top-down timelapse and a Wyze Cam for close-ups; for environmental sensing I relied on a BME280 and a DS18B20 probe, and a small HX711 load-cell under my cutting board for quick weight checks.
How I labeled outcomes
Labeling was binary-simple at first: Loved / Okay / Hated — with a short reason tag (too dry, underdone center, uneven browning). Example: my weeknight roast chicken got “Okay — browned edges, dry breast.” Those short notes guided targeted changes much faster than long essays.
Balancing quantity vs quality
I aimed for 300–500 well-labeled examples before widening breadth. Early on I prioritized high-quality, fully documented cooks over mass scraping. A few carefully labeled failures taught the model more than dozens of bland successes.
Privacy and organization
All recipes and notes lived in an encrypted Git repo (private) with recipe metadata separate from photos. I hashed identifying names and backed up to an encrypted drive.
Continuous collection workflow
I automated: a kitchen tablet prompts me to start a session, tethers sensors to a timestamped folder, and asks a quick thumbs-up and one-sentence note after eating. That daily loop made learning automatic — and surprisingly painless.
Training My Oven: Models, Algorithms, and Iterative Feedback
Start simple: predict temperature and time
I began with lightweight predictive models — linear regression and a small gradient-boosted tree — to estimate bake time and setpoint from inputs (weight, humidity, recipe type). These models gave fast, interpretable suggestions I could eyeball and override. That low-risk baseline prevented wild experiments and made debugging obvious: if a roast finished 10 minutes early, I could trace which feature misled the model.
Layering adaptive behavior
Once the predictors were reliable, I added an adaptive loop: after each bake I recorded my reward signal (Loved/Okay/Hated) and the sensor trace. A simple contextual bandit adjusted oven parameter increments (±5–15°F, convection on/off, time shifts) to maximize reward while staying inside safe bounds. Periodically I retrained the supervised model with new examples to shift its priors.
Simulate, then scale with kitchen trials
Before risking a pricier roast, I ran “digital twin” simulations — temperature diffusion approximations and short trial bakes using cheaper cuts. That cut costly failures. Real trials were always small batches, probe-first, then full bakes once confidence rose.
Measuring improvement & practical trade-offs
I tracked: Loved-rate, mean absolute error of predicted vs actual core temp, and variance in browning. Tip: favor stability over marginal gains. Complex neural nets nudged performance 2–3% but increased brittleness and latency; simpler models won for day-to-day reliability.
Quick how-to checklist
- Start with interpretable models.
- Constrain actions to safe ranges.
- Use short simulations and cheap trials.
- Log rewards and retrain often.
Making It Real: Hardware Integration, Sensors, and Safety
Choosing and calibrating sensors
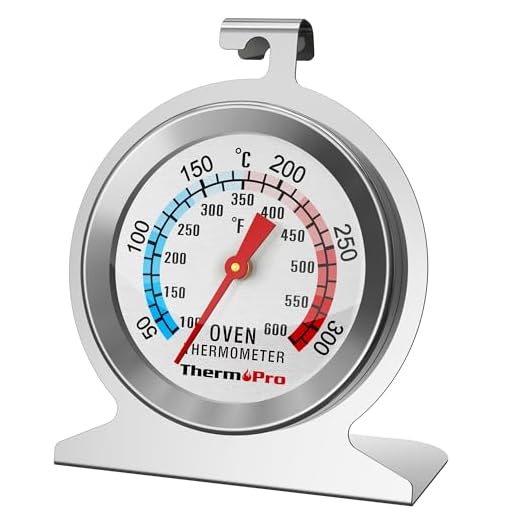
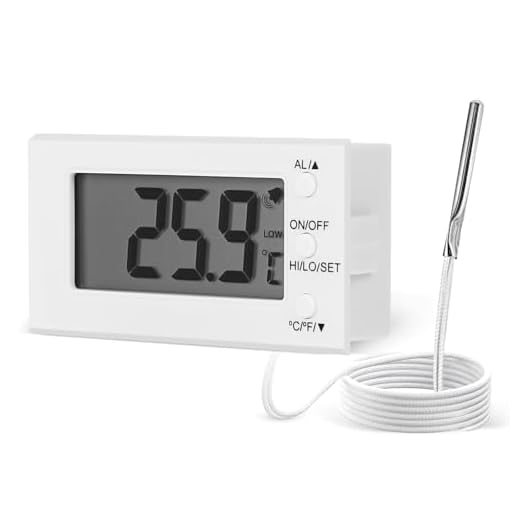
I picked a mix: K-type thermocouples for oven air and racks, a contact probe for cores, an IR sensor (MLX90614-style) for surface browning, and an SHT31 humidity sensor for steam-conscious bakes. Calibration was hands-on:
- Ice-bath (0°C) and boiling-water checks for thermocouples.
- Spot-check core probes against a trusted handheld thermometer.
- For the IR sensor I used a piece of matte black tape as an emissivity target — the readings lined up after setting emissivity to ~0.95.
Actuators and control
I controlled mains heating with a properly sized SSR (solid-state relay) and used a triac-based dimmer for older elements. Fans run on PWM via a MOSFET and the rack motor uses a small stepper with a driver board. Practical tips:
- Keep thermocouple leads twisted and away from mains wiring.
- Use opto-isolators between MCU and high-voltage sections.
- Derate SSRs and add snubbers for inductive loads.
Safety, redundancy, and practical wiring
I built multiple layers: hard thermal cutout (mechanical thermostat), software watchdog that drops power if comms fail, manual kill switch, and alerts to my phone. Conservative defaults mean the oven favors undercooking over overheating. I also added:
- Fuses and a GFCI-protected circuit.
- Physical cable grommets, high-temp silicone, and an IP-rated electronics enclosure.
- Local manual control and an obvious red switch for handovers.
These choices made the system reliable in daily use and easy to fix when something inevitably needed tweaking.
Living with an AI Oven: Day-to-Day Use, Tuning, and Lessons Learned
Daily workflow: instructions and feedback
I usually tell the oven the dish and my target (e.g., “crispy-skinned roast chicken, medium juices”). I give quick feedback after the first run: a thumbs-up, “less brown,” or a short voice note about moisture. That lightweight labeling taught the model my tolerances — the roast chicken’s skin improved from patchy to uniformly crisp in three cycles.

When it’s confidently wrong
When the oven insists on a setting I dislike, I hit manual override, take a core reading, and either rollback to the saved “baseline” profile or create a corrective label (â