
Why I Clean My Stainless Steel Fridge (And You Should, Too)
I clean my stainless steel fridge regularly to remove smudges, prevent corrosion, and keep finishes looking professional. This six-step routine is simple, effective, and requires minimal time and effort, honestly.
What I Use and Why It Matters
I use:
- soft microfiber cloths
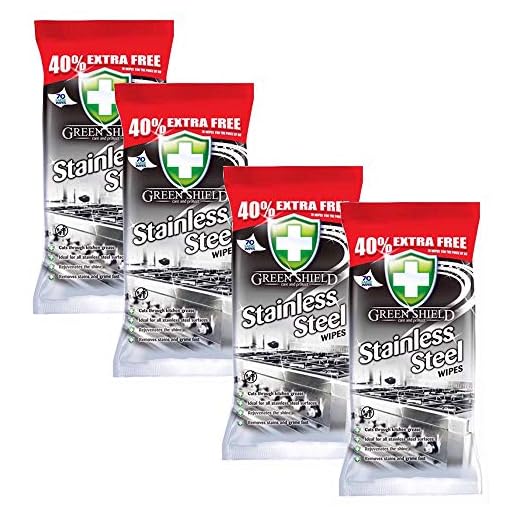
- mild dish soap
- white vinegar
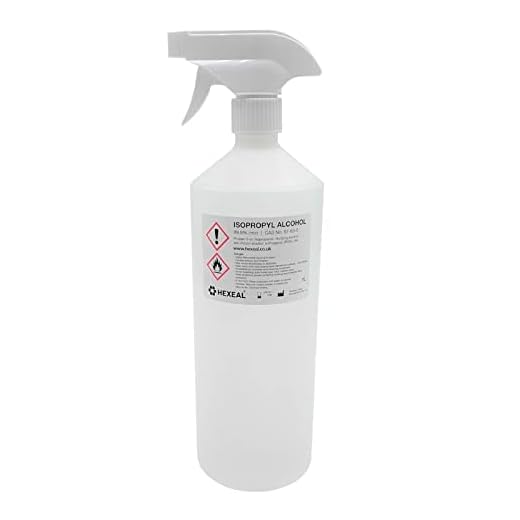
- isopropyl alcohol
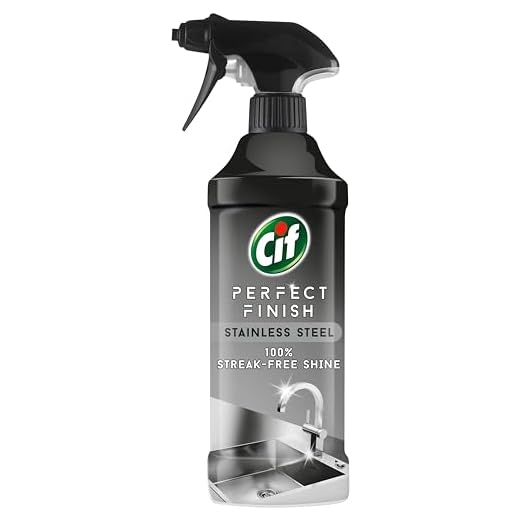
- oil based stainless polish or olive oil
- spray bottle
- soft toothbrush
- gloves
- patience; follow the grain
Step 1 — Prep the Area and Gather Supplies
Empty the fridge exterior of magnets, notes, and detachable bins — I remove everything so I can access every inch of stainless steel. Unplug the fridge or switch off its power if I’ll be cleaning near seals, and lay down a towel to catch drips; once, a stray splash soaked a wooden floor until I started using a towel.
Gather supplies and set them within reach:
Supplies
- Microfiber cloths (one for cleaning, one for drying)
- Spray bottle
- Mild dish soap
- White vinegar
- Soft brush (old toothbrush or small scrub brush)
Position myself with good lighting so I can spot fingerprints and streaks. Test any cleaner on an inconspicuous corner and keep a separate cloth for polish to avoid cross-contamination.
Step 2 — Mix Safe, Effective Cleaning Solutions
Mix one part mild dish soap with three parts warm water in a spray bottle for everyday cleaning; I spray the cloth, not the fridge, to avoid drips.
Prepare a 1:1 white vinegar and water solution for fingerprint-prone areas — vinegar cuts oils, evaporates quickly, and leaves fewer streaks.
Use 70% isopropyl alcohol diluted slightly with water when I need disinfecting, and wipe quickly so it doesn’t sit on the finish.
Quick reference
- Everyday: 1 part dish soap : 3 parts warm water
- Fingerprints: 1:1 white vinegar : water
- Disinfect: 70% isopropyl alcohol diluted slightly
Avoid bleach, powdered or abrasive cleansers, or anything that can etch stainless; keep solutions room-temperature and never mix vinegar with bleach or citrus cleaners.
Step 3 — Wipe with Technique: Follow the Grain
Work top-to-bottom and follow the metal grain to avoid streaks and halos.
Spray a light mist of the soap solution onto a microfiber cloth rather than the fridge to prevent pooling near seals.
Wipe in short, consistent strokes along the grain, applying gentle pressure to lift fingerprints and sticky spots.
Use a soft toothbrush dipped in solution for crevices and gasket edges, then rinse those areas with a damp cloth.
Let tough spots (dried spills) dwell 30–60 seconds with a vinegar or alcohol wipe; do not use scrubbing pads.
Quick tips
- Cloth: microfiber — not paper towels
- Pressure: gentle, consistent strokes
- Spot treatment: short dwell, then wipe clean
Rinse with a clean damp cloth to remove residue, then buff dry with a fresh microfiber cloth following the grain.
Focus on handles and high-touch areas, and finish brushed surfaces with a tiny dab of oil or polish, buffing lightly until reflections look uniform.

Step 4 — Deep Clean Seals, Trays, and Coils
Remove any detachable bins — I wash them in warm, soapy water, rinse, and dry completely before returning them. Gently pull back door gaskets and scrub trapped grime with a soft brush or toothbrush and mild soap; rinse with a damp cloth and dry the gasket thoroughly to prevent mold before reseating.
Check and empty the drip tray (if accessible) and sanitize it with diluted vinegar (1:1 vinegar:water), then dry.
Unplug the fridge and consult the manual, then vacuum or brush accessible condenser coils at the back or beneath the unit to improve efficiency — use a coil brush or vacuum attachment.
Place an open box of baking soda inside for odor control. Inspect the water filter, wipe the ice-maker assembly with a damp cloth, and adjust the fridge leveling so doors seal and compressors run quietly.
Step 5 — Polish Smartly for a Lasting Finish
Reserve polishing for last. For mirror-finish stainless I use a streak-free glass cleaner sparingly; for brushed finishes I prefer an oil-based polish or a drop of olive oil on a microfiber cloth.
Place a small amount on the cloth — never on the appliance — and work with the grain in slow, overlapping passes. Less is more: excess oil attracts dust.
- Mirror finish: use a streak-free glass cleaner; spray the cloth, not the surface.
- Brushed finish: use a tiny drop of olive oil or a commercial oil-based polish.
- Spots: treat water spots with 50:50 vinegar and water applied briefly, then buff.
Buff vigorously with a clean, dry cloth until reflections are even and smudges vanish. Avoid abrasive pads, steel wool, and polishing compounds unless the manufacturer allows them. After polishing I redo handles and touch points with a sanitizing wipe to finish. I polish only when necessary — usually monthly — and keep a cloth handy for quick daily wipe-downs. Avoid colored cleaners; they stain.

Step 6 — Maintain a Simple Routine and Troubleshoot
Keep a damp microfiber cloth near the fridge — I wipe handles and high-touch areas after meals to stop fingerprints before they set.
Store cleaning cloths separately; rinse them well and air-dry to avoid lint and mildew.
Rinse and rotate cloths weekly so one is always ready.
Follow this simple schedule:
- Wipe daily: quick pass on handles and dispenser areas.
- Wipe weekly: full exterior with your mild cleaner.
- Polish monthly: buff surface and inspect gaskets.
- Check quarterly: vacuum coils, swap baking soda, and verify filters.
Consult the manufacturer before using stronger treatments on stubborn stains.
Document any unusual noises or leaks after cleaning.
Schedule a gentle seasonal deep clean and always test new products on a hidden spot first.

Finish Strong: A Little Care Goes a Long Way
Follow these six steps regularly and I guarantee your fridge will stay streak-free, sanitized, and protected; try it, share your results, and start your simple maintenance routine today right now.

37 comments
Marcus Hill
Hmm, I tried the guide and my fridge still had water streaks after polishing. Maybe I’m applying too much polish? Also, the ‘follow the grain’ instruction is fine but hard to see on brushed finishes. Any hacks?
DanCC
Try using two cloths: one to apply a tiny bit of polish in the direction of the grain, and a dry one to buff immediately. Less is more — heavy application causes streaks.
Owen Baker
Good tip: use a flashlight at an angle to see the grain better. Makes it way easier to follow.
Maya Chen
Also consider cleaning in natural light — that helps spot streaks you missed.
Priya Patel
Love the step-by-step layout. The ‘mix safe, effective cleaning solutions’ section helped me ditch harsh chemicals. I used a vinegar/water spray + a drop of dish soap and it worked wonders.
However, the guide didn’t mention seals getting smelly — I use a little baking soda paste for that. Anyone else?
DanCC
Baking soda paste is a great, gentle option for seals. Just rinse well and dry afterward to prevent moisture buildup.
Lena
Yep, baking soda saved my door seals. If your gasket is removable, I pop it out and soak it in warm soapy water for a bit.
Sophie Mann
Love this — super practical. I always struggled with streaks on my stainless steel and the “follow the grain” tip was a game changer. I used a microfiber cloth and ginormous improvement.
Quick question: when you say “polish smartly,” is olive oil actually OK? I read somewhere it can go rancid and attract dust. 😅
Michael Torres
Yup, mineral oil is what I use. Cheap, non-smelly, and doesn’t turn into a dust magnet in my experience.
DanCC
Great question, Sophie! I avoid olive oil for that exact reason — it can become sticky and go rancid. I recommend a small amount of mineral oil or a dedicated stainless polish for a lasting, non-greasy shine.
Hannah Li
I mix a drop with water in a spray bottle (very diluted) and it helps with finger prints without going oily. Test a small spot first tho!
Rachel Park
Neutral take: guide is solid but some steps assume you have time to pull the fridge out. Not everyone can do that (tight kitchen layout!). Maybe add alternatives like using a long brush or vacuum attachment for coils if you can’t move the unit.
Lena
I used a flexible dryer vent brush once, worked surprisingly well in a pinch.
DanCC
Great point, Rachel. I’ll add alternatives for tight spaces — a coil brush or vacuum with a hose attachment are good workarounds if pulling the fridge isn’t possible.
Ben
Also tilt the fridge slightly (if safe) or clean through the kick plate area — but only if you’re comfortable and unplugged.
Owen Baker
Anyone tried the rubbing-alcohol trick for fingerprints? Worked great for me but burned my nose a little lol. Not for the faint of heart 😆
Ben
Pro tip: add a drop of essential oil to mask the alcohol smell — optional, but it helps 😅
Priya Patel
Careful though — some finishes might react. Test a hidden spot first!
Rachel Park
I do a 50/50 mix with water and it removes prints fast. Smell dissipates quickly if you open a nearby window.
DanCC
Rubbing alcohol evaporates quickly and is effective — just work in a ventilated area and use gloves if the smell bothers you. Dilute if needed.
Ben
Haha, this made me realize I’ve been neglecting step 6 (maintenance). I did a quick cleanup today and the difference is ridiculous. One tip: keep a small spray bottle under the sink with your mix so it’s easy to grab for quick touch-ups. Saved me hours in the long run.
Also, nice inclusion of the “why” section — motivation matters!
DanCC
Love that — convenience is the key to routine. A ready-to-go spray bottle is the single best maintenance hack.
Priya Patel
I keep mine in the fridge door shelf (in a sealed container) so it’s always on hand. Works well for quick cleanup after cooking.
Lena
I gotta admit, step 1 (prep area) felt unnecessary at first but it saved me from a mess. Placing towels under the fridge when I cleaned the coils = genius.
Big fan of the “Finish Strong” note — small routine makes a big difference. 👍
DanCC
Exactly! Little prep steps often prevent the biggest headaches later on. Glad it helped, Lena.
Tom Alvarez
Towels under the fridge — brilliant. I used cardboard once and it soaked up cleaning mix, oops.
Daniel
Short and sweet guide — no nonsense. Step 4 (coils) is the one most people ignore. I pulled mine out last month and WOW, so much lint + dog hair. Just be careful with older fridges and fragile connectors.
Priya Patel
Wasn’t sure how often to do coils. How often do you clean them?
DanCC
Thanks, Daniel — totally. If you’re unsure, unplug the fridge and take a photo of the connectors before moving anything. Coils can be delicate on older models.
Daniel
I do coils every 6 months + more often if you have pets.
Tom Alvarez
This helped me finally stop using paper towels (yikes). Microfiber + spray bottle = less waste and better results. Thanks for the eco-friendly tip!
Also, anyone tried the lemon trick? Smells nice but maybe not strong enough for grease.
Maya Chen
Lemon + baking soda = power duo for small greasy patches, but test first cause acidic solutions can affect some finishes.
DanCC
Paper towels can leave lint — microfiber is the way to go. Lemon is good for light cleaning and smell, but for greasy spots a bit of dish soap in warm water works better.
Maya Chen
Constructive note: would love a quick troubleshooting checklist for stubborn rust spots or scratches. I got a few small scratches from moving magnets around and wasn’t sure whether to try steel wool (scared) or leave it.
Otherwise, fantastic guide — very user-friendly and the photos were helpful.
Marcus Hill
I used a scratch repair kit and it improved mine. Do a small test area first!
Sophie Mann
Also magnets make micro-scratches over time. I keep mine on a cork board instead 😅
DanCC
Thanks, Maya — good idea. For light scratches, a non-abrasive polish or a stainless steel scratch repair kit can help. Avoid steel wool unless it’s ultra-fine and used with the grain. I’ll add a short checklist in the next update.