

Quick Clean, Big Difference
I’ll walk you through replacing your range hood filter and cleaning the fan in five easy steps today. You’ll save time, improve kitchen air quality, and prevent grease buildup. No special skills required—just patience and a few basic tools now.
What You’ll Need
I’ll need replacement filter(s), dish soap or degreaser, baking soda, warm water, a soft brush, microfiber cloths, screwdriver or clips, gloves, and a ladder or step stool.
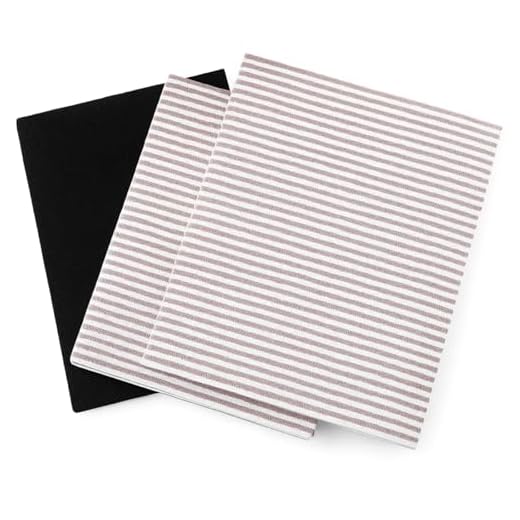
Step 1: Power Down & Inspect
Turn off the range and cut power to the hood at the switch or breaker.
Remove any light bulbs and note how the filter is secured—clips, screws, or slide rails.
Inspect for heavy grease, damaged filter frames, bent fan blades, or loose wiring so I can decide whether to proceed or call a pro. If wiring looks frayed or components are broken, stop and get help.
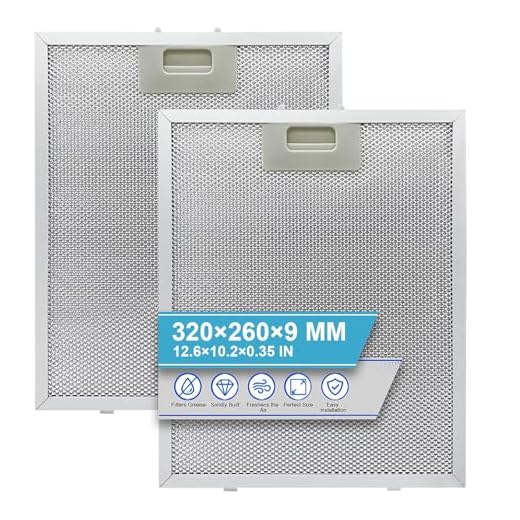
Step 2: Remove the Filter Carefully
Put on gloves, and place a towel or box beneath the hood — I do this to catch drips or a falling filter.
Release the clips or unscrew fasteners; for slide-out filters I support them with one hand while easing them free to avoid drops.
- Disposable: I bag it immediately and discard.
- Reusable metal: I prepare a tub of hot water and degreaser to soak.
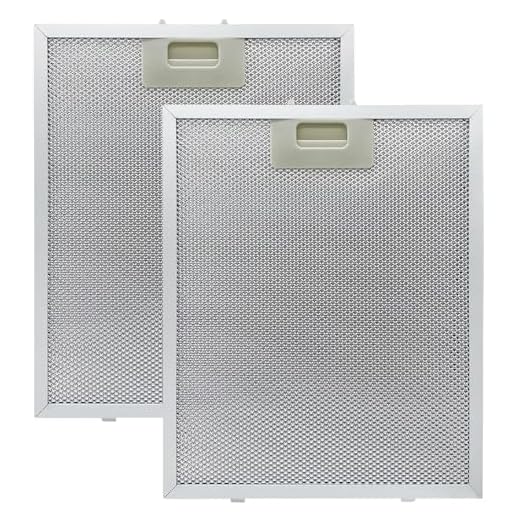
Step 3: Soak and Scrub the Filter
Soak metal filters in very hot water with a few drops of dish soap and about 1/4–1/2 cup baking soda for 20–30 minutes.
- Soak time: 20–30 minutes
- Tools: soft-bristled brush (old toothbrush), gloves
I then use the soft brush to gently lift grease—avoid harsh scrubbing that bends the mesh. Rinse thoroughly and inspect; if grease persists, repeat or use a commercial degreaser per product instructions.

Step 4: Clean the Fan and Housing
Wipe accessible surfaces with a degreasing spray or a cloth dampened with hot, soapy water. If I can safely access the fan blades, I hold the motor shaft to prevent spinning and clean each blade with a cloth and mild degreaser; use a plastic spatula for caked grease.
- Hold the motor shaft to stop blades from spinning.
- Avoid soaking electrical parts; blot, don’t pour.
Dry everything completely before reassembly.

Step 5: Reassemble, Test, and Maintain
Reinstall the dry or new filter — I secure the clips or screws and replace any light bulbs.
Restore power and run the hood on high for one minute; I listen for smooth operation and no strange noises.
- Note the date and set a calendar reminder.
- Maintenance interval: clean or replace the filter every 3–6 months (e.g., 3 months after heavy frying, 6 months for light use).
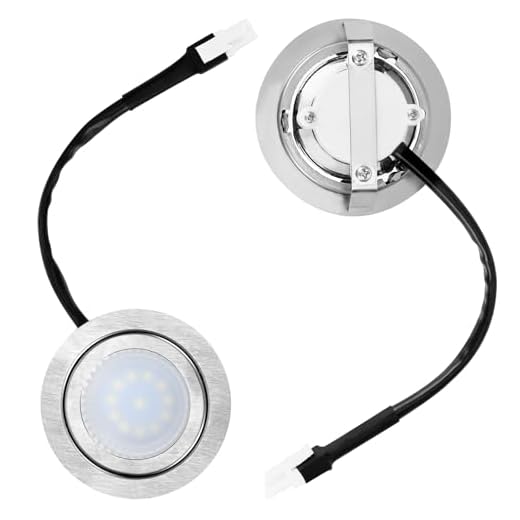
All Done — Breathe Easier
I cleaned the fan, replaced the filter, and tested the hood; regular upkeep keeps kitchen fresh and vents efficient. Try it, share your results, and call a technician if unsure.


25 comments
Priya Kapoor
Helpful guide overall. A couple of constructive notes:
– Step 3: For very greasy filters, a mix of baking soda + hot water before scrubbing helps break down the gunk.
– Step 4: When cleaning the fan, don’t spin it too much — some motors are sensitive. Hold the blade still while wiping.
I ended up replacing the filter after a decade of neglect (it was toast). Maybe add a small checklist/photo of what ‘done’ looks like vs ‘replace’?