

Why Replacing Blender Blades Yourself Saves Time (and Money)
I will walk you through a safe, step-by-step blade replacement so you avoid service fees and keep your blender performing like new. This practical, cautious guide shares hands-on tips and clear instructions to get the job done confidently and safely.
What you’ll need
I’ll bring:
- Replacement blade assembly (model-specific)
- Screwdriver or wrench
- Rubber jar gripper or glove
- Towel
- Small brush, dish soap
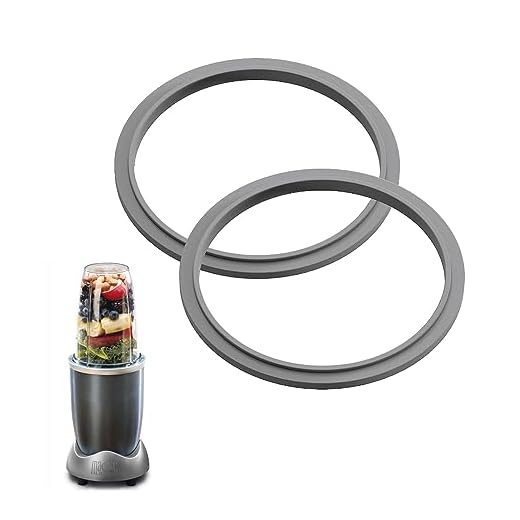
- Replacement gasket/O-ring
- Owner’s manual
- Basic hand-tool comfort
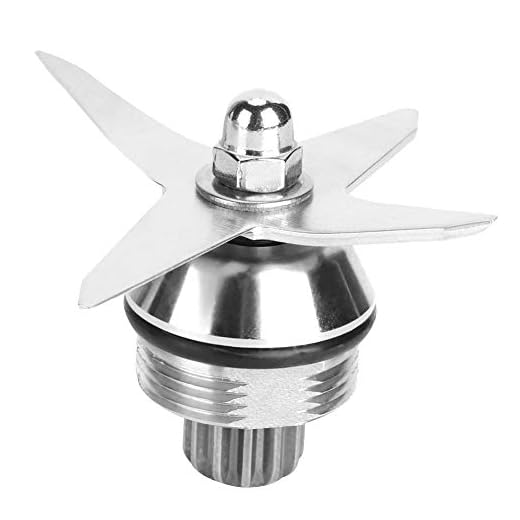
Safety First: Power Down and Disassemble
Unplug the blender and remove the jar from the base. Empty and rinse any contents, and let hot liquids cool before you touch the blade area.
Place a towel on the counter to prevent slipping and put on cut-resistant gloves or use a rubber gripper for traction. I always do this — once, a slippery smoothie almost sent the jar flying.
Consult your owner’s manual for model-specific disassembly—some jars twist off, others use locking tabs. Remove the jar, lid, and any pitcher inserts so you can access the blade assembly at the jar base.
Keep screws and small parts in a container so nothing gets lost. For example, I use a small bowl for screws and a labeled sticky note for where they belong; it saves time when reassembling.

Remove the Old Blade Assembly
Place the jar on a towel to steady it. Keep a small bowl nearby for screws and parts; I use one every time so nothing disappears.
Grip the blade assembly using a jar gripper or a thick cut-resistant glove and turn counterclockwise—apply steady, even pressure.
Use a strap wrench or wrap the base in a rubber mat and tap gently with a rubber mallet to loosen seized assemblies.
Remove retaining screws with the correct driver for screw-mounted units.
Watch for hidden clips or a retaining ring that may need prying or unthreading.
Lift the blade unit straight out, noting the exact position and order of gaskets and washers so you can reinstall them correctly.
Inspect the jar mouth and threads for cracks, shredded gasket material, or metal shavings.
Clean the area thoroughly with a small brush and warm, soapy water before proceeding.
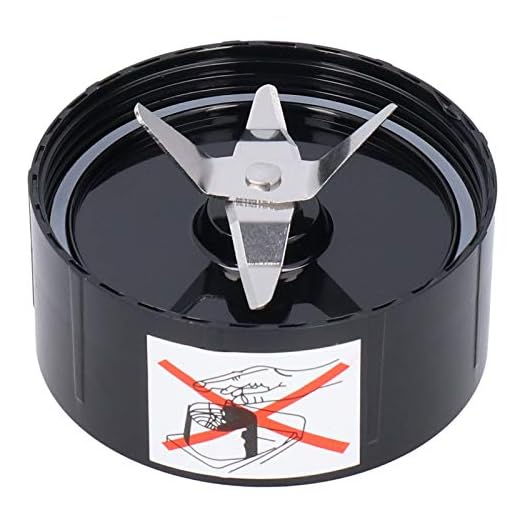
Install the New Blades Correctly
I lay out the new assembly and compare it to the old one to confirm parts and orientation. I always replace the gasket or O-ring with the new one provided—never reuse an old seal.
- Replace the gasket: Lightly fit the new gasket/O-ring into its groove and, if the manufacturer recommends it, coat it with a thin smear of food‑grade silicone (example: a pea‑sized dab worked around the O‑ring) to help it seat evenly.
- Insert the blade assembly: Align any tabs or notches and insert the blade unit straight down—press evenly and avoid tilting.
- Thread the retaining ring: Hand‑thread the retaining ring or screws until snug; avoid overtightening. If your model specifies a torque, set a torque wrench and follow that value.
- Spin the blades: Rotate the blades by hand to confirm they spin freely and do not contact the jar base.
- Wipe away fingerprints and debris.
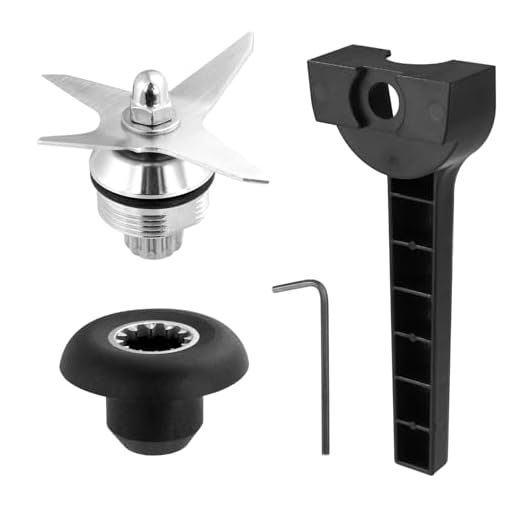
Reassemble, Test, and Troubleshoot
Reattach the jar and lid; I then set the blender on the base and plug it in. Run a first test on low with a cup of water to check for leaks and listen for unusual noises — I use a clear glass so I can see any drips.
Power off and unplug if you see leaking; I reseat the gasket and retighten the retaining ring by hand. Stop immediately if you hear wobble or grinding — I power off, remove the jar, and inspect blade alignment and for bent blades. Confirm the motor coupling on the base is intact and free of cracks.
- Replace the motor coupling if it’s worn or cracked; I contact a professional if the noise persists or if internal motor damage is suspected.
Finish with a short cleaning cycle (warm water + a drop of dish soap); I rinse thoroughly and dry every part. I document the blade replacement date for future maintenance.
You’re Done — Keep Your Blender Sharp and Safe
I’ve guided you through safe removal, installation, and testing; perform routine checks, ensure proper seals, dispose of old blades safely, and note the replacement date to keep your blender reliable?



32 comments
Owen Gallagher
Funny story: I tried to install the new blades without unplugging. I know, dumb. Electric shock lesson learned and a small scorch on my thumb (no permanent damage). Now I always double-check the power. Guide is spot on about safety — but maybe add a bold reminder: unplug and remove the jar if possible. Extra paranoid? Good. 😉
James Li
Yikes. Same here once — now I toss the plug in a different room when working on appliances, haha.
Carlos Romero
Also remove any detachable bowls/attachments — even leftover power can spin them if the motor kicks. Better safe.